Cooking on a salt block transforms a standard gas grill into a precision tool for flavor and texture. Carved from dense pink Himalayan salt, the block infuses food with subtle mineral notes while distributing heat evenly across its surface. This technique delivers consistent searing and natural seasoning in one step. In this guide, you’ll learn how to prepare, heat, and maintain a salt block properly to achieve smooth performance and prevent cracking during use.
Tools and Materials to Prepare Before Grilling
Equipping your gas grill with the proper tools ensures safe handling and consistent results when cooking on a salt block. Careful preparation minimizes the risk of thermal shock and helps you manage temperature changes effectively. Before lighting the grill, have the following materials ready to maintain control throughout the process.
- A high-quality Himalayan salt block at least two inches thick, free of cracks.
- A gas grill with adjustable temperature controls.
- Heat-resistant grill gloves for safely handling the hot salt block.
- An infrared or instant-read thermometer to monitor surface temperature.
- A sturdy metal spatula or tongs for turning food on the block.
- A clean spray bottle or damp cloth for testing heat levels with a few drops of water.
- Optional: a metal ring or stand to stabilize the block on the grill grates.
Gathering these essentials in advance promotes safer preheating, steadier handling, and more precise temperature control during grilling.
Proper Preheating: Preventing Salt Block Cracks
Salt blocks require gradual heating on a gas grill to maintain structural integrity. Much like ceramic, they are sensitive to sudden temperature changes that can cause stress fractures or complete breakage. The objective is to let both the grill and the salt block rise in temperature together so the block adjusts evenly and safely.
Place the dry, room‑temperature block on the cold grill grates. Turn the burners to low and warm the block for about fifteen minutes. When it feels moderately hot to the touch, raise the temperature to medium for another ten to fifteen minutes, allowing heat to disperse evenly through the salt’s dense composition.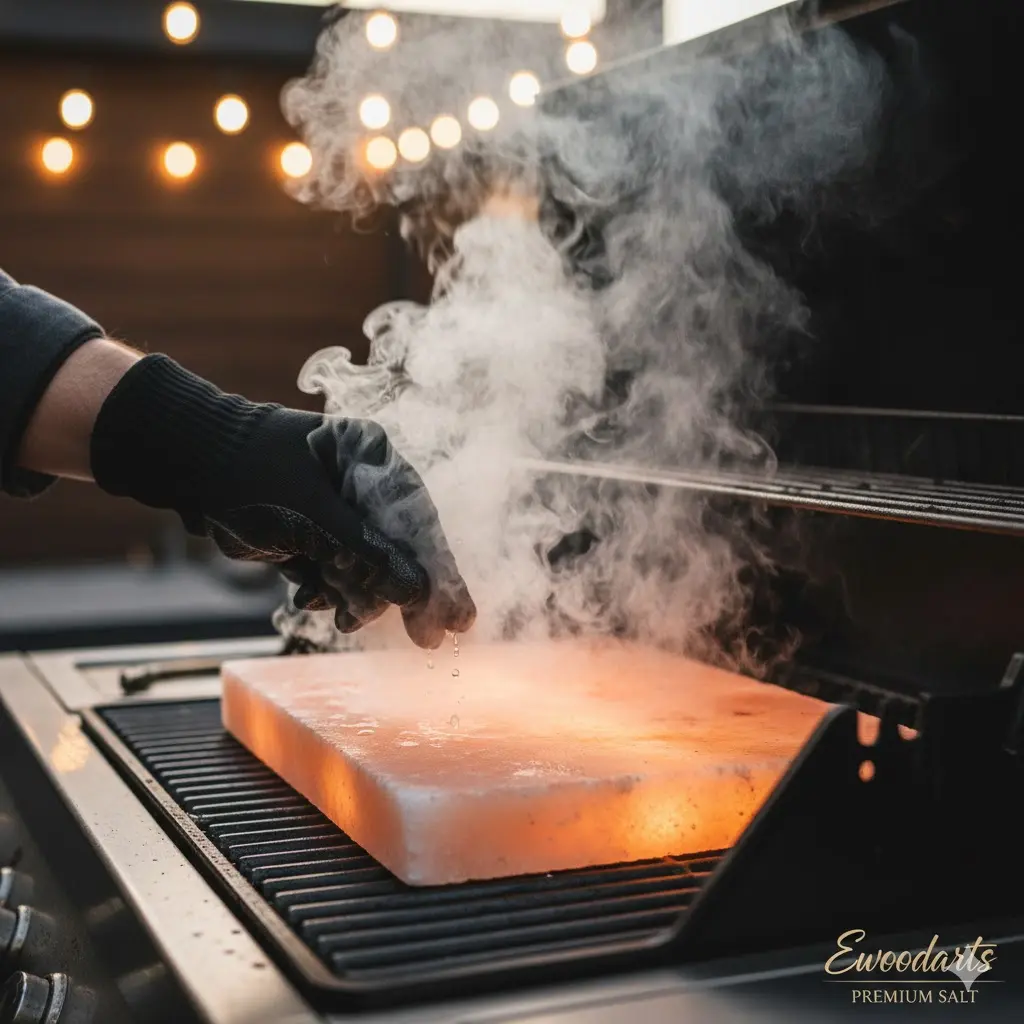
Finally, increase the grill to high for another ten to fifteen minutes. When a few drops of water sizzle and evaporate instantly, the block surface has reached approximately 400–550°F—ideal for cooking. Never place a cold or damp salt block on a preheated grill, and always use dry, heat‑resistant gloves when handling it to prevent cracking and burns.
Authentic Himalayan Salt Blocks for Your Business
Source premium, natural pink Himalayan salt blocks directly from the Khewra Salt Mine. Ideal for culinary, retail, and hospitality use, these FDA‑ and EU‑compliant products introduce craftsmanship and authenticity to cooking, serving, and branded displays. Flexible order sizes and global delivery make them a dependable option for professional kitchens and businesses seeking refined natural materials.
Step-by-Step Cooking on a Salt Block
Step 1: Position and Stabilize the Salt Block
Place the preheated salt block directly on the gas grill grates before increasing the heat. If available, use a metal ring or stand to keep it steady and maintain airflow underneath. Ensure the grill surface is clean so no residue interferes with heat transfer or flavor. Keeping the block centered promotes even heating and prevents stress from uneven temperature zones. A stable setup also allows safer food handling during cooking.
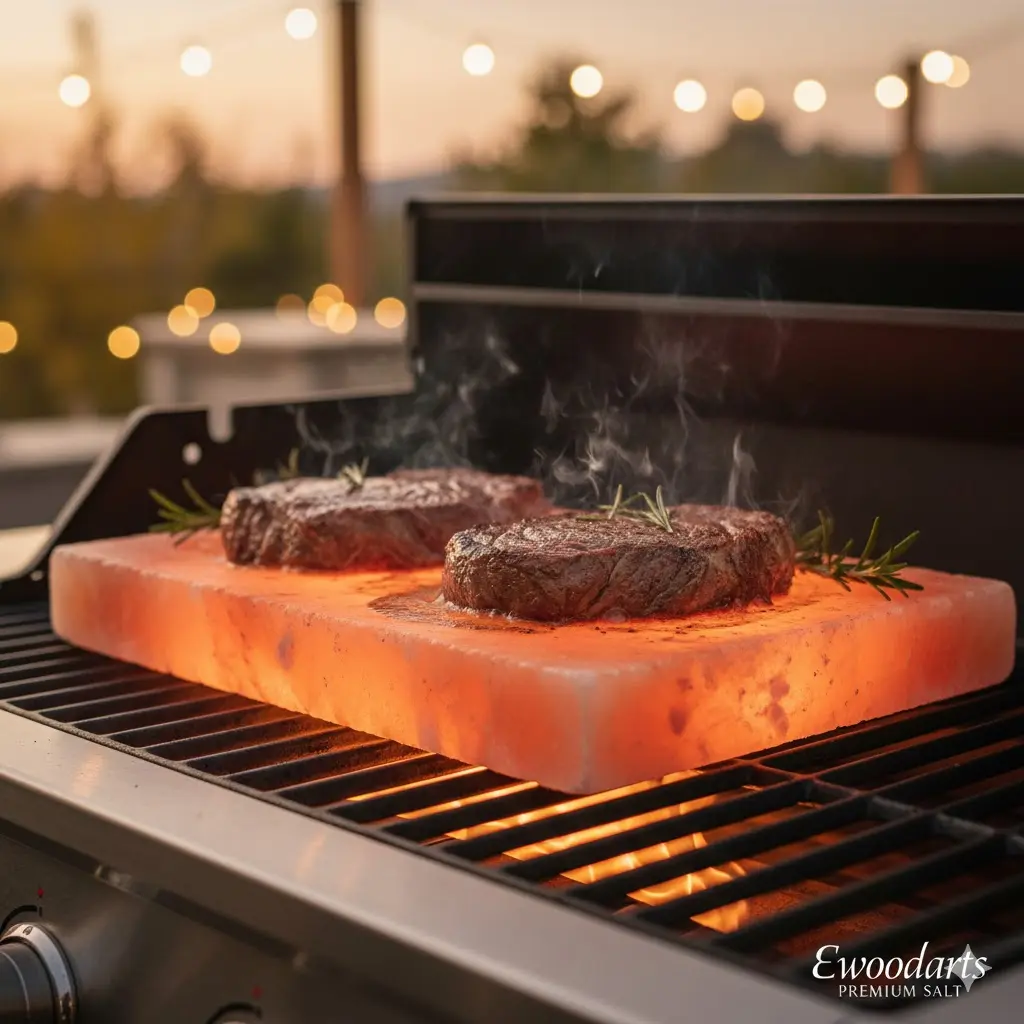
Step 2: Grill Food Efficiently on the Salt Block
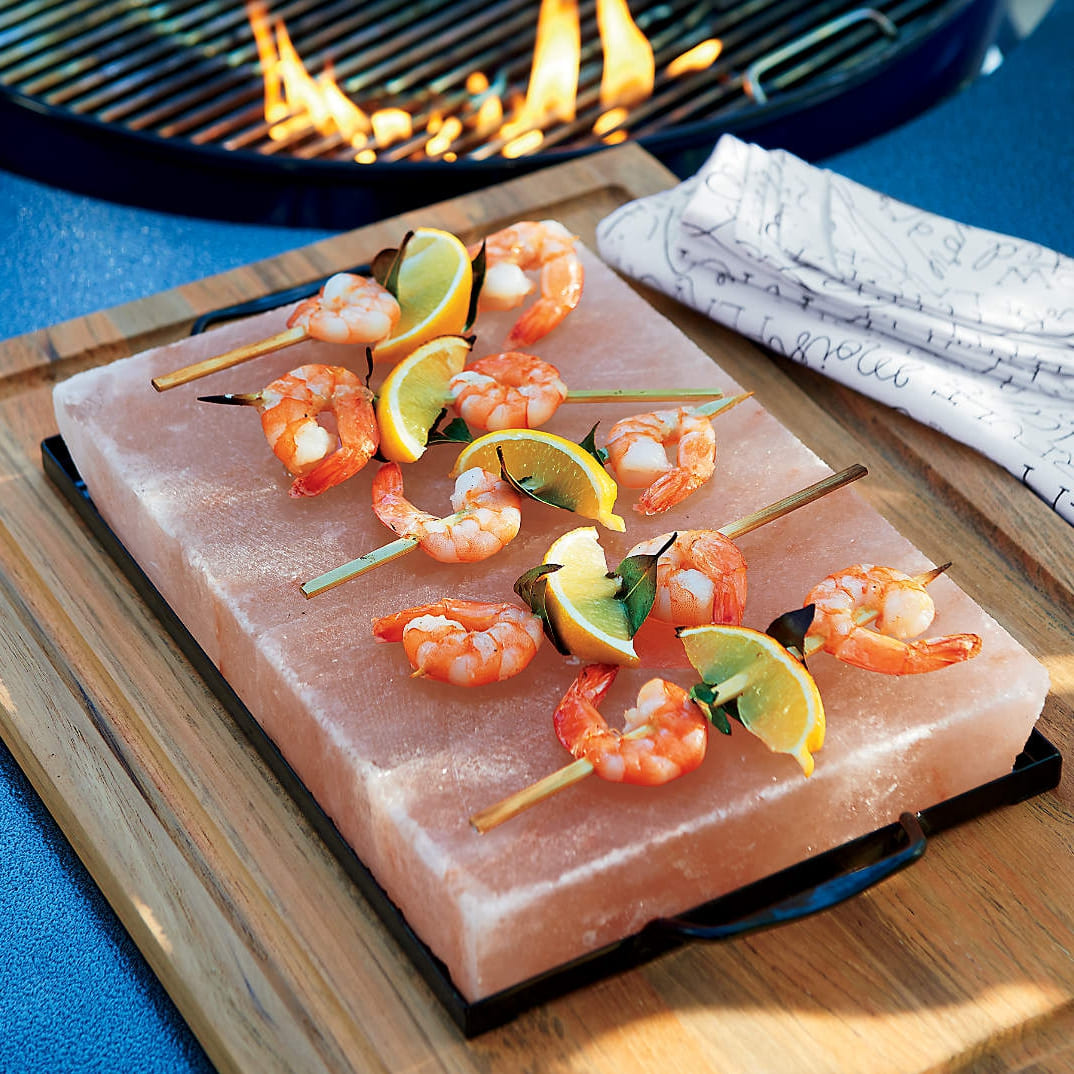
When the block reaches approximately 400–550°F, place lightly oiled, unsalted food directly on the surface. Excess oil can cause slipping and over-seasoning, so use only a thin coating. Rely on the block’s radiant heat rather than open flames to avoid flare-ups—direct flame contact isn’t required. Turn food carefully with metal tongs or a spatula to keep the surface smooth. Seafood, thin meats, and vegetables cook quickly, so monitor them closely. If flare-ups occur, reduce or adjust burner output to stabilize the temperature and preserve the block’s integrity.
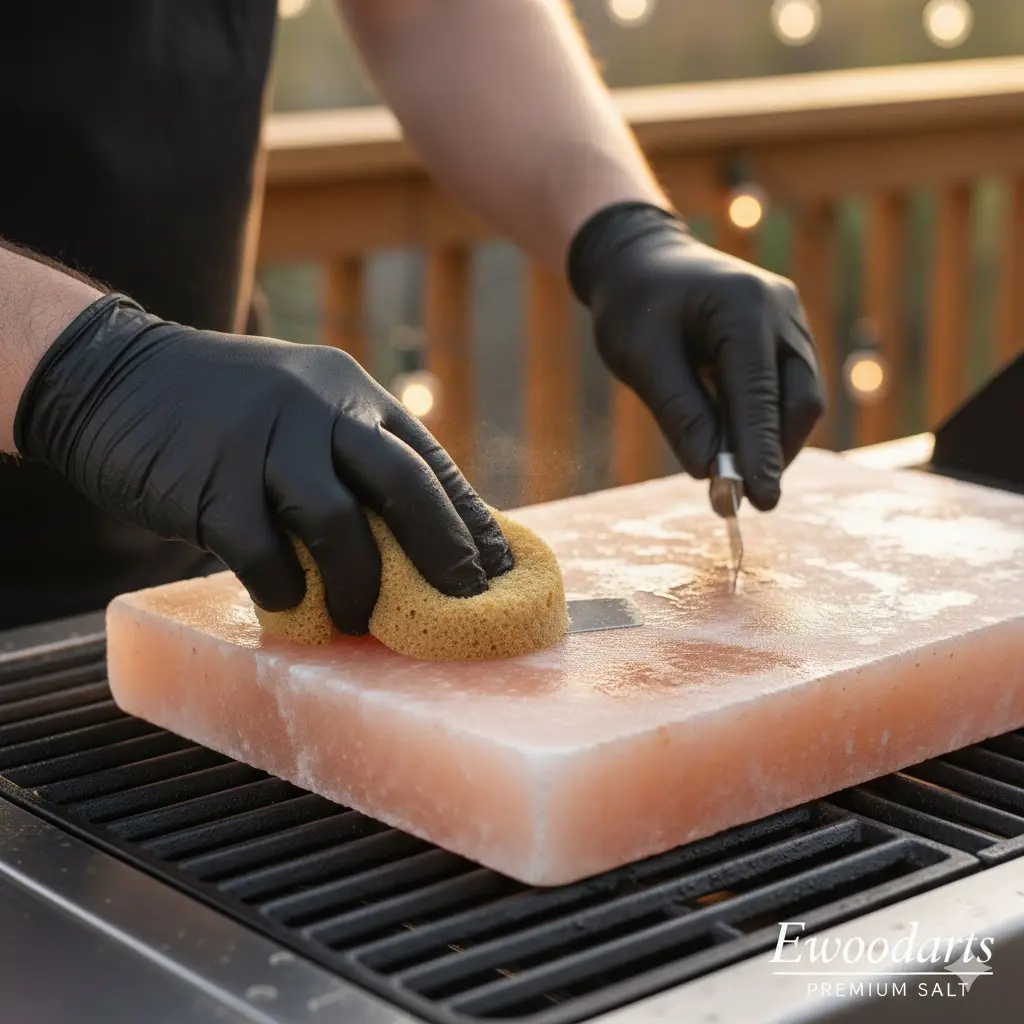
Step 3: Cool and Clean the Block Properly
After grilling, switch off the burners and let the salt block cool gradually on the grill. Rapid cooling—from ice, cold water, or a damp cloth—can cause cracking. Once completely cooled, remove any food residue with a spatula instead of scrubbing or using soap. Rinse lightly with warm water, pat dry, and allow the block to air dry overnight. Gentle cleaning and proper drying protect the block’s structure for continued use and consistent performance.
Safety and Maintenance Guidelines
Grilling with a salt block enhances both flavor and presentation, but it demands careful handling to prevent damage or injury. Establishing consistent safety and maintenance habits ensures dependable performance and extends the block’s lifespan. Follow these essential guidelines to maintain stability and protect your cooking surface during every session.
- Always use heat-resistant gloves when placing or removing a heated salt block.
- Avoid sudden temperature shifts or exposure to moisture, which can cause fractures.
- Never immerse the hot block in water or cool it rapidly with cold liquids.
- Inspect routinely for cracks or thinning; discontinue grilling use if structural wear appears.
- Store the block in a dry, ventilated area to preserve its integrity between uses.
Consistent care helps the salt block withstand repeated heating and cooling cycles. With mindful handling, it remains a reliable tool for precise, flavorful grilling on a gas grill.
Salt Block vs. Traditional Grill Grates
Choosing between a Himalayan salt block and standard grill grates affects how heat is distributed, flavor develops, and how much maintenance is required. The table below outlines the performance differences, helping you determine which option best suits your grilling method and desired results.
| Feature | Salt Block | Traditional Grill Grate |
|---|---|---|
| Cooking Surface | Flat Himalayan salt slab that imparts subtle mineral flavor | Metal bars supporting food directly over flame |
| Heat Distribution | Even, radiant heat conduction for balanced cooking | Concentrated heat from direct flame exposure |
| Flavor Impact | Naturally seasons food with trace salt minerals | Neutral surface with no added seasoning effect |
| Maintenance | Requires gentle cleaning and thorough drying; more delicate | Simple cleaning and long-term durability |
| Longevity | Limited lifespan as surface thins or develops cracks | Durable and long-lasting with routine upkeep |
Frequently Asked Questions About Using Salt Blocks
Can I place a cold salt block on a hot grill?
No. Setting a cold salt block onto a preheated gas grill causes a rapid temperature shift that can lead to cracking or shattering. Always begin with both the grill and the block at room temperature and allow them to heat gradually together.
How long should I preheat a salt block on a gas grill?
Preheating typically takes 30 to 45 minutes. Start with low heat for the first 10 to 15 minutes, then move to medium, and finish on high. This gradual temperature increase minimizes stress on the block while creating an even, stable cooking surface.
Should I use direct or indirect heat when grilling on a salt block?
Place the block directly over the gas burners on the grill grates. The salt conducts and radiates heat evenly, forming its own cooking surface, so indirect heat or additional pans are unnecessary.
Can dripping fats damage the grill or the salt block?
Dripping fat can create small flare-ups that gradually erode the salt surface. Lightly oil food instead of heavily marinating or using fatty cuts to reduce flare-ups and protect both the grill and the block.
Is a grill or an oven better for heating a salt block?
A gas grill is ideal because it provides direct, adjustable heat and good airflow around the block. While an oven can safely preheat the block, grilling offers more control and convenience for outdoor cooking and serving.
Final Thoughts
Cooking with a salt block on a gas grill delivers a distinct mineral depth and refined presentation when managed correctly. The combination of the block’s natural salt content and steady, radiant heat creates a clean, balanced flavor that standard grates can’t easily match.
For reliable results, heat the block gradually, monitor its temperature closely, and choose foods that cook evenly at high heat. Slow preheating and natural cooling safeguard the block from cracks while extending its useful life.
As you gain experience, experiment with a variety of ingredients or slab sizes to enhance both technique and flavor control. Each session deepens your mastery of safe, consistent, and flavorful salt block grilling.
Experience the quality firsthand with our trial order – an easy way to test these high-margin products with just a $500 investment. Get in touch to start your trial order today!