Cleaning a Himalayan salt block requires physically removing debris without using soap or excess water, which can dissolve the salt. Proper technique preserves the block’s natural antibacterial surface, prevents cracking from thermal shock, and extends its functional lifespan. This guide details the necessary tools, a step-by-step cleaning process from cooling to storage, and common mistakes to avoid to protect your investment.
Prerequisites: Tools & Materials Needed
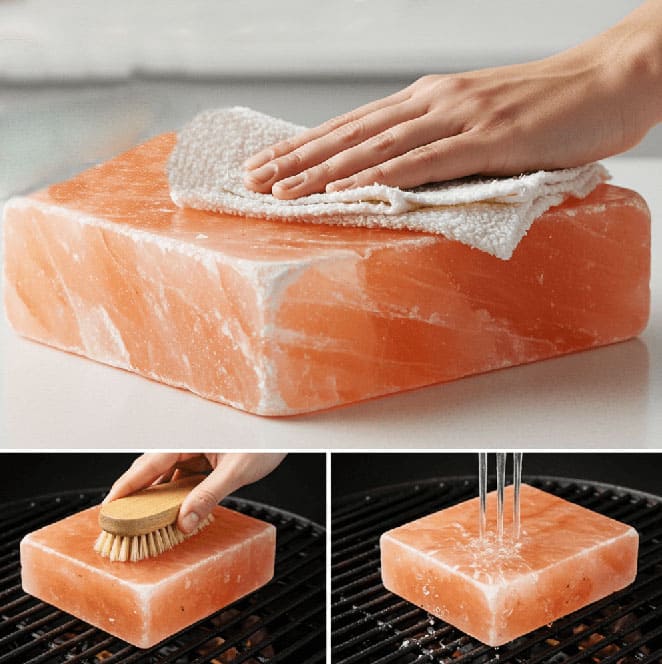
Gather a few simple items to clean your Himalayan salt block effectively. Since the goal is to remove food residue—not to sterilize or soak the surface—the right approach relies on minimal moisture and effective scraping.
- Damp (not wet) sponge or cloth: Use this to gently wipe away loose debris without saturating the block.
- Grill brush or scouring pad: Ideal for scrubbing off stuck-on food particles while keeping water use to a minimum.
- Metal spatula or razor blade: Essential for scraping away stubborn residue, oils, or carbonized bits without excessive force.
- Clean, dry towel: After cleaning, immediately blot any remaining moisture to speed up drying time.
- Airtight container or dry storage bag: Once fully dry, store your block in a sealed environment to prevent humidity from degrading the salt over time.
Premium Himalayan Salt Blocks for Culinary and Hospitality
Partner with Jilin Ever Creation for authentic pink Himalayan salt blocks sourced from the Khewra Salt Mine. Perfect for grilling, serving, and retail, our FDA and EU-approved products come with full customization, private labeling, and flexible global shipping to fit your business needs.
Step-by-Step Guide to Cleaning a Himalayan Salt Block
Proper cleaning extends your salt block’s lifespan and preserves its antibacterial properties. The process requires patience and minimal water, prioritizing the physical removal of debris over liquid-based methods to prevent the salt from dissolving.
Step 1: Let the Salt Block Cool Completely
After cooking, your salt block retains intense heat that can last for hours. Moving directly to cleaning while the block is hot creates thermal shock—a rapid temperature change that causes the crystalline structure to fracture. Set the block aside on a heat-safe surface and wait until it reaches room temperature, typically a few hours depending on its cooking temperature.
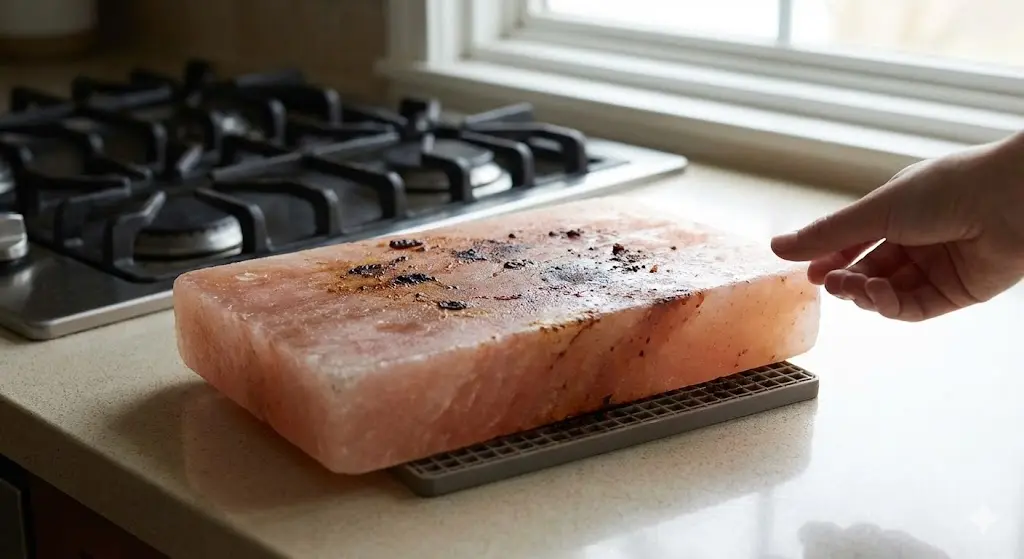
Rushing this cooling period is the most common cause of premature cracking. A fully cooled block feels neutral to the touch and shows no warmth when you hold your hand near its surface. This wait time protects your investment and ensures safer handling during the cleaning process.
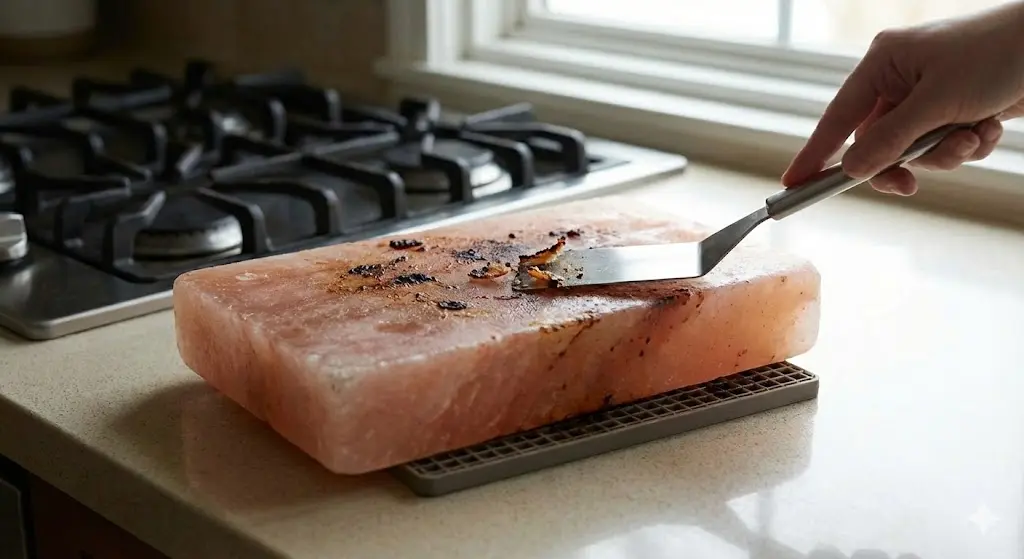
Step 2: Scrape Off Food Debris Gently
Once cool, use a metal spatula, grill brush, or razor blade to remove stuck-on food particles. Apply firm but controlled pressure, working in smooth strokes across the surface rather than jabbing or digging into the salt. The goal is removing residue, not creating grooves or divots in the block.
For stubborn carbonized bits, a razor blade held at an angle works best—similar to scraping paint from glass. A grill brush handles broader areas efficiently, while its bristles conform to the block’s natural texture. Focus on physical removal rather than abrasive scrubbing, since the salt’s porous nature means aggressive action can damage the surface unnecessarily.
Small surface scratches and color changes are normal wear patterns that don’t affect functionality. Don’t aim for a pristine appearance; instead, concentrate on clearing cooking residue that could impact flavor in future uses.
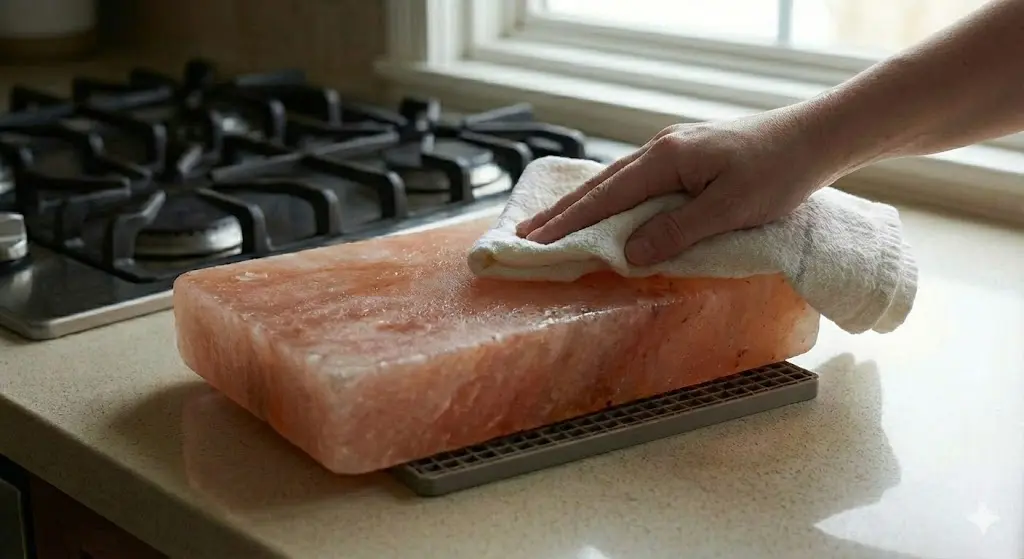
Step 3: Wipe the Block with a Damp Sponge
After scraping, use a sponge or cloth dampened with a small amount of water—just enough moisture to feel slightly wet, not dripping. Wipe across the block’s surface to collect any remaining fine particles or dust from the scraping process. Keep the sponge moving and avoid letting water pool in any crevices or low spots.
The block’s natural antibacterial properties mean soap or detergents are unnecessary and counterproductive, as they can be absorbed into the salt and alter flavors during your next cooking session. A single pass with minimal moisture accomplishes the cleaning task without risking dissolution of the salt crystals.
Step 4: Dry Immediately and Air-Dry Thoroughly
As soon as you finish wiping, use a clean, dry towel to absorb surface moisture. Pat the block rather than rubbing, which helps lift water away from the salt without spreading it around. This immediate drying prevents water from penetrating deeper into the block’s structure.
After towel-drying, place the block in a location with good air circulation—away from humidity sources like dishwashers or sinks. The salt needs at least a full day to release any absorbed moisture completely. Proper air-drying prevents the block from weakening or developing white crystalline blooms that indicate moisture damage.
The block is ready for storage when its surface appears uniform and slightly matte. Any dampness or darker patches mean it needs more drying time before the next use.
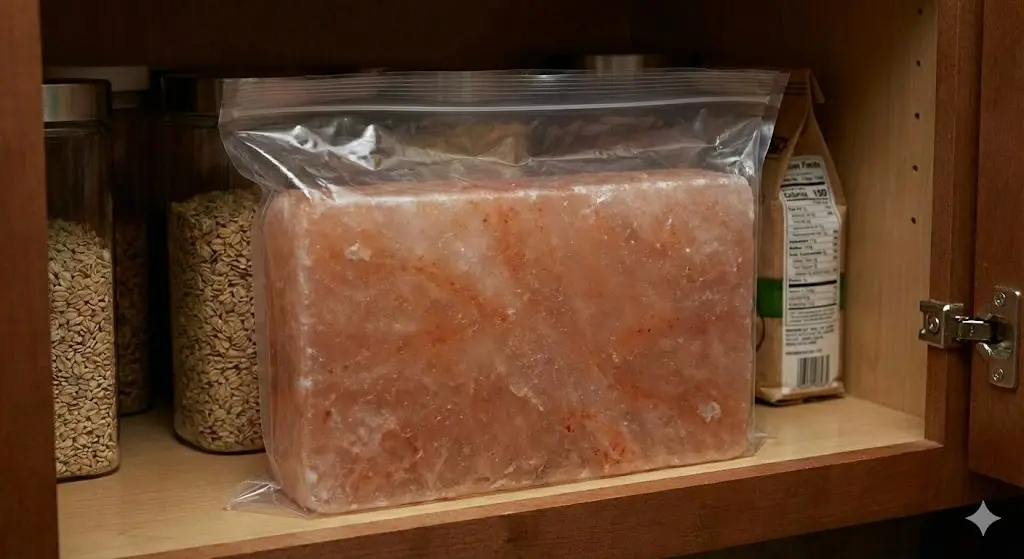
Step 5: Store the Block in a Dry Place
Once fully dry, place your salt block in an airtight container or sealed plastic bag. This barrier protects against ambient humidity, which can slowly dissolve the block’s surface even when it’s not in direct contact with water. Airtight storage is especially critical in coastal or humid climates where moisture levels fluctuate.
Choose a storage spot away from sinks, dishwashers, or areas where steam accumulates. A pantry shelf or dedicated cabinet works well. Proper storage between uses preserves the block’s integrity and ensures it’s ready for immediate heating when you next want to cook.
Expert Tips & Common Mistakes in Salt Block Cleaning
While cleaning a Himalayan salt block is straightforward, common mistakes can shorten its lifespan or compromise its antimicrobial surface. Understanding what to avoid is critical, as many techniques used for typical cookware will damage or dissolve the salt. The table below outlines frequent errors and their solutions.
| Common Mistake | Solution / How to Avoid |
|---|---|
| Using soap or detergents | Never apply soap—salt naturally resists bacteria, and detergents can be absorbed into the porous surface, affecting the taste of future meals. |
| Submerging block in water | Avoid soaking or running it under the tap. Use only a lightly dampened sponge, then immediately pat dry and air-dry for approximately a day before storage. |
| Applying excessive force when scraping | Scrape gently with a grill brush or razor blade. Aggressive scrubbing can gouge the surface, especially on older blocks that have developed natural fissures. |
| Ignoring cracks or damage | Inspect your block regularly. Minor surface cracks are normal and safe, but deep fractures can worsen with heat cycling—handle carefully and avoid dropping. |
| Storing in humid areas | Keep your block in an airtight bag or container in a dry spot. Ambient humidity can slowly dissolve the salt and weaken the structure over time. |
A salt block naturally evolves with use; slight color shifts and surface texture changes are normal signs of wear, not defects. Treating it with care appropriate for its material ensures reliable performance over dozens of cooking sessions.
Frequently Asked Questions About Cleaning Himalayan Salt Blocks
Can I use soap or detergent on my salt block?
No. Soap and detergents are unnecessary due to the salt’s natural antibacterial properties. Chemical residues can also seep into the porous surface, affecting the flavor of future meals.
Is it safe to run my salt block under water for cleaning?
No, running water will dissolve the block. If moisture is required, wipe the surface with a damp sponge, dry it immediately with a towel, and then let it air-dry completely before storage.
What should I do if my salt block develops cracks?
Minor cracks and fissures are a normal sign of wear and do not affect safety or cooking performance. Continue to use the block, but replace it if large pieces begin to separate. Fragments can be repurposed for seasoning.
How do I remove stubborn, stuck-on food from the block?
Use a metal spatula, grill brush, or razor blade to scrape away debris once the block has fully cooled. For oily residue, a razor works well to lift buildup without introducing excess moisture that could weaken the salt.
Why does my salt block’s appearance change after cleaning?
Color shifts and surface texture changes are expected as fats, proteins, and heat interact with the salt over time. These changes are cosmetic and don’t compromise the block’s antimicrobial qualities or cooking ability.
Final Thoughts
Adhering to a scour, wipe, and dry cleaning method keeps your Himalayan salt block functional without causing unnecessary wear. Remove debris with a scraper or damp sponge, avoid soap, and let the block air-dry completely before storing it in a dry location. This simple routine prevents the gradual erosion that shortens the block’s lifespan.
Proper care preserves the block’s antibacterial surface and its ability to impart subtle mineral flavors. Small fissures and color changes are normal signs of use that do not compromise safety or performance. Consistent maintenance after each use prevents residue buildup and ensures the block’s longevity.
Experience the quality firsthand with our trial order – an easy way to test these high-margin products with just a $500 investment. Get in touch to start your trial order today!