Tempering a new Himalayan salt block is the essential first step that determines its long-term durability and safety. Through gradual heating, this process removes internal moisture and stabilizes the salt’s crystalline structure, preventing cracks or fractures when exposed to high temperatures. In this guide, you’ll learn the precise, step-by-step method for tempering—whether in an oven or on a stovetop—so your salt block remains strong, food-safe, and ready for years of reliable cooking and presentation.
Tools and Materials Required for Tempering
Before heating your new Himalayan salt block for the first time, gather the essential tools to keep the tempering process safe and consistent. Having everything in place ensures controlled temperature increments and reduces the risk of cracking from uneven heat distribution.
- A clean, fully dry Himalayan salt block (air-dried for at least 24 hours).
- An oven with precise, adjustable temperature control.
- An oven-safe rack or sturdy baking tray to support the block.
- An accurate oven thermometer (optional but recommended).
- Heat-resistant gloves or mitts for handling during and after heating.
- A timer to record heating intervals and temperature adjustments.
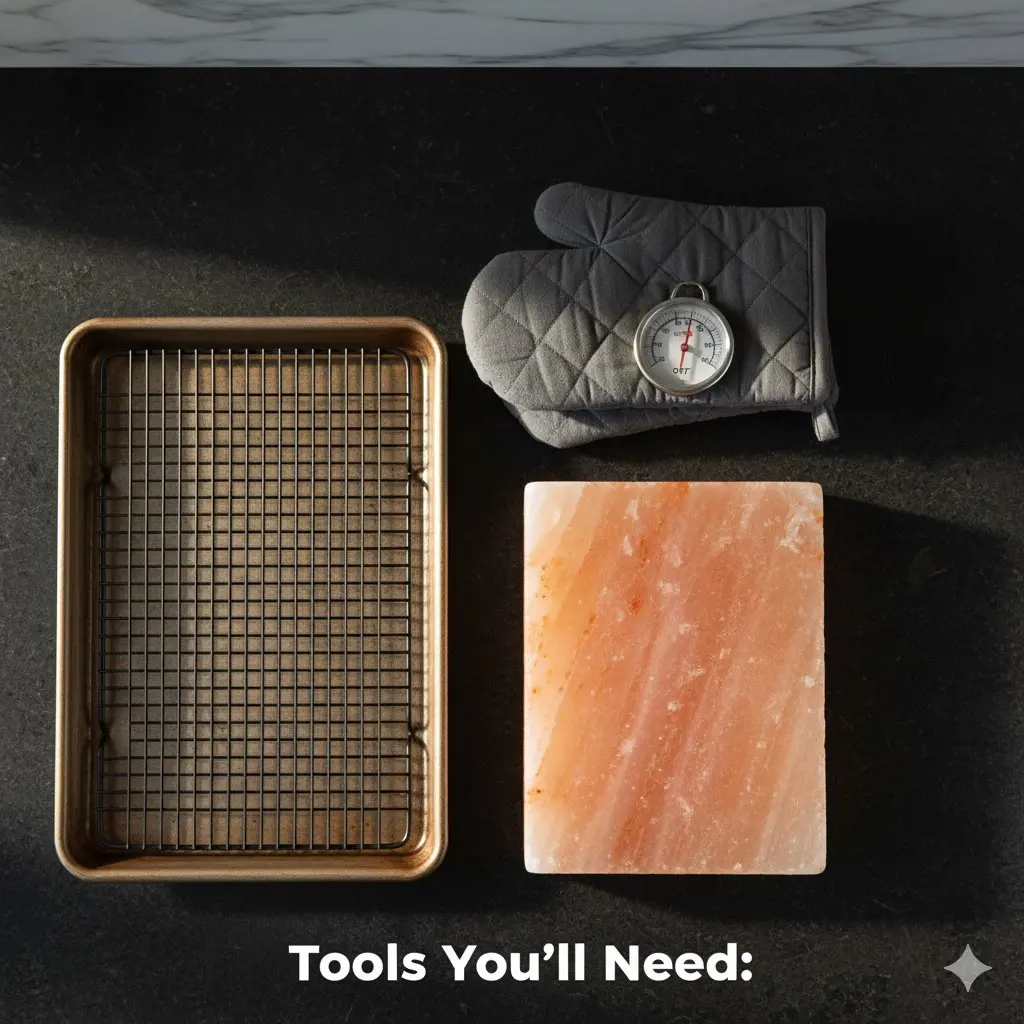
Each of these items supports gradual, even heating so the salt block tempers uniformly without stress or sudden thermal shock.
Step-by-Step Guide to Tempering Your Himalayan Salt Block
Step 1: Place the Salt Block in a Cold Oven
To begin tempering, always start with a completely cold oven. Set the dry salt block on a low rack or sturdy baking tray before turning on the heat. Starting cold prevents sudden temperature differences that could strain the salt’s crystalline structure. Warming the block gradually ensures even expansion and minimizes the risk of cracks or surface fractures.
This stage allows any internal moisture to evaporate slowly instead of turning into steam pockets that might cause splitting. Think of it as establishing the foundation for every phase that follows.
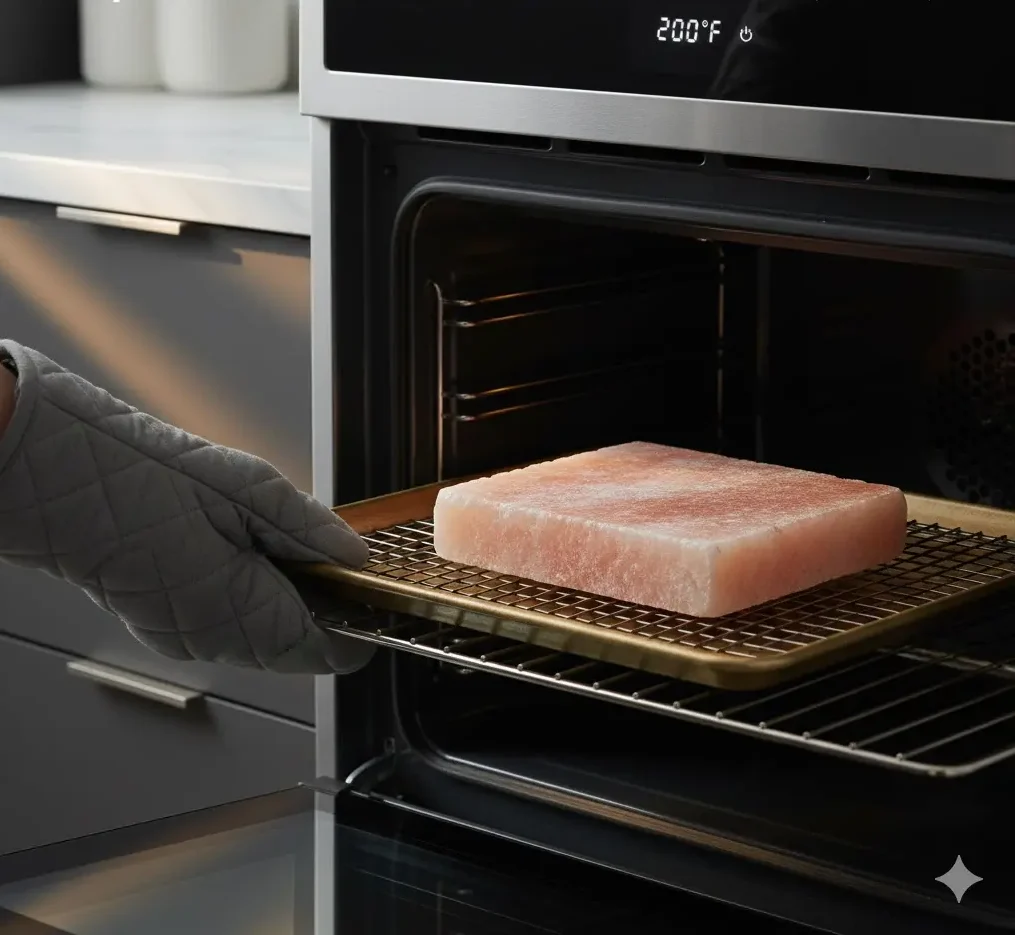
Step 2: Begin Heating at 200°F (93°C) for 30–45 Minutes
Once positioned, set the oven to 200°F (93°C) and maintain that temperature for about 30 to 45 minutes. This gentle heat phase removes residual moisture without stressing the salt’s structure. The goal is steady moisture release—rapid heating can create pressure imbalances and cause cracking.
Soft pops or faint crackling sounds are normal signs of trapped water escaping. Wait until the surface appears dry and stable before increasing the temperature.
Step 3: Increase Temperature Gradually by 75–100°F Every 30–45 Minutes
After the initial stage, raise the oven temperature in increments of 75–100°F (40–55°C) every 30–45 minutes. Each adjustment gives the block time to adapt evenly to rising heat. This careful progression limits thermal stress and strengthens the internal crystal alignment that enhances long-term durability.
Maintaining this consistency is key. Skipping increments or increasing heat too quickly can overheat specific areas, creating tension or micro-cracks. Like metal heat treatment, controlled heating and cooling improve resilience and stability.
Step 4: Hold at 500°F (260°C) to Complete Tempering
Continue the gradual increase until the oven reaches about 500°F (260°C). Maintain this temperature for 30 minutes to allow complete moisture release and thermal balance. This phase gives the block the structural integrity needed to resist cracking under high heat during cooking.
At this stage, the salt block becomes fully conditioned. Even heat promotes uniform molecular alignment, improving its strength and resistance to thermal fluctuations. After this step, the block is ready for practical use.
Step 5: Cool the Salt Block Slowly to Room Temperature
When heating is complete, turn off the oven but leave the block inside to cool naturally for six to eight hours until it reaches room temperature. Slow cooling prevents contraction stress that could undo the tempering process.
Allowing the block to rest in the oven shields it from drafts or cold surfaces that might cause cracking. Once fully cool to the touch, the block is tempered and ready for cooking. This controlled cool-down finalizes its transformation into a strong, crack-resistant cooking surface.
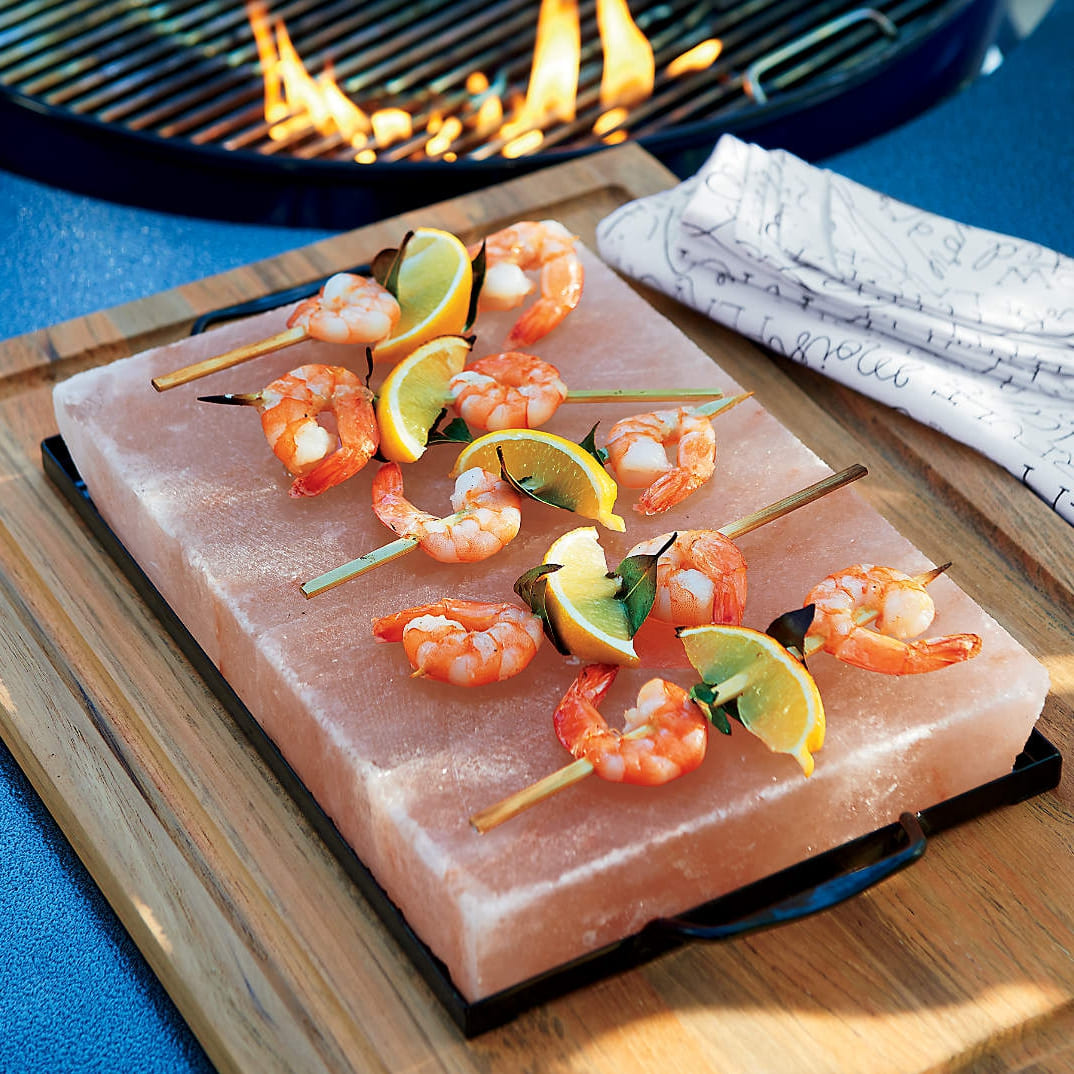
Premium Himalayan Salt Blocks for Culinary & Hospitality
Partner with Jilin Ever Creation to source natural, food-grade pink Himalayan salt blocks from Pakistan’s Khewra Mine. Properly tempered, these blocks deliver strength and resistance to cracking under heat. Customize dimensions, shapes, and packaging to fit your brand’s needs while offering a distinctive way to sear, grill, and serve with natural salt infusion.
How Heat Treatment Affects Salt Block Durability
The durability of a new Himalayan salt block depends on how well it is tempered. Controlled heat treatment expels trapped moisture and stabilizes the salt’s crystalline matrix, preventing cracks during future heating or cooling. Performed correctly, this gradual process enables the block to endure repeated use without crumbling or weakening over time.
As temperature rises slowly—whether in an oven or on a stovetop—the internal crystal structure realigns, much like the refinement process in heat-treated metals. This internal stability provides the strength needed to withstand high cooking temperatures. Maintaining a steady rate of heating allows internal pressure to equalize, minimizing the risk of sudden cracks.
During tempering, the block may show subtle changes in color or texture. These natural variations indicate mineral adjustment as the salt’s microstructure settles under heat. Allowing the block to cool gradually afterward lets the crystals stabilize, improving resistance to thermal shock.
Skipping or rushing the tempering process can create weak points that accelerate deterioration under direct heat. Done methodically, heat treatment strengthens the salt block, transforming it into a durable, long-lasting cooking surface.
Expert Tips & Common Errors in Salt Block Tempering
Tempering a new Himalayan salt block requires patience and consistent heat management. When performed correctly, it removes internal moisture and reinforces the salt’s crystalline structure, minimizing the risk of cracking during later use. The table below lists frequent first-time mistakes and the best ways to avoid them.
| Common Mistake | How to Avoid / Solution |
|---|---|
| Heating the block too quickly | Always begin with a cold oven and raise the temperature gradually in controlled increments. |
| Exposing a wet block to heat | Ensure the salt block is completely dry for at least 24 hours before starting the tempering process. |
| Removing the block immediately after heating | Allow the block to cool slowly inside the oven to avoid thermal shock that can lead to cracking. |
| Ignoring crackling sounds | Soft popping is normal as moisture escapes; loud snaps signal stress—slow down heat increase next time. |
| Using an uncontrolled stovetop | Prefer the oven method for even heating. If using a stovetop, follow precise low-to-high temperature increments. |
Monitor how your salt block reacts during heating. Subtle crackles or faint lines indicate internal stress release, not damage. Taking the time to heat and cool the block gradually during the initial cycle builds lasting durability for all future cooking sessions.
Frequently Asked Questions About Tempering a Salt Block
What happens if I don’t temper my salt block?
Skipping the tempering step allows trapped moisture inside the salt block to expand too quickly under heat. This rapid pressure buildup can cause cracking or complete breakage. Proper tempering slowly removes moisture and stabilizes the structure so the block can safely endure high temperatures.
Can I temper a salt block on a grill instead of an oven?
Tempering on a grill is not recommended because grill surfaces create uneven heat that can stress the salt crystal structure. An oven provides gradual, consistent heating, making it a safer and more reliable method for first-time tempering.
Is it normal for the block to make popping sounds during tempering?
Yes. Light crackling sounds are normal as residual moisture escapes. However, if you hear sharp or loud pops, reduce the temperature slightly and extend the heating time to allow the block to adjust more gradually, minimizing stress on the salt surface.
How many times do I need to temper a salt block?
You only need to temper a salt block once before its initial use. After that, as long as it’s heated and cooled gradually during cooking, it remains conditioned and ready for regular use without needing to repeat the process.
My block changed color after tempering. Is that normal?
Yes. Color variation is expected as heat slightly alters mineral distribution within the salt. These shifts may deepen or blend pink and white tones, indicating normal mineral adjustment and not affecting performance or food safety.
Final Thoughts
Proper tempering conditions your Himalayan salt block for reliable performance, enabling it to withstand high heat without fracturing. This process removes residual moisture and stabilizes the crystal structure, creating a dense, durable surface that endures repeated thermal cycles.
Whether using an oven or stovetop, progress through each heating stage slowly and allow the block to cool at the same pace. This careful temperature control protects structural integrity and extends the block’s usable lifespan.
Once tempered, the block becomes a stable cooking and serving surface that enhances both flavor and presentation. With the process complete, you can cook and plate confidently on a block built for longevity and consistent results.
Experience the quality firsthand with our trial order – an easy way to test these high-margin products with just a $500 investment. Get in touch to start your trial order today!