Skip to content
Key Takeaways
- An induction cooktop cannot heat a Himalayan salt block, because salt is neither magnetic nor electrically conductive and the burner never detects it.
- Gas, electric coil with a diffuser, conventional oven and grill all work, provided the block warms across 10 to 15 minutes instead of all at once.
- A cold-oven ramp is the lowest-risk method on the list, since heat reaches every face at once and the internal gradient stays shallow.
- An induction adapter plate feeds heat through one face only, which is why it marks and splits salt more often than an open flame does.
- Seasoning from a block lands on the surface of the food, and WHO guidance keeps adult intake under 5 grams of salt per day.
- Trial orders open at 100 pieces with a USD 500 minimum order amount, arriving on air DDP in 20 to 30 days.
- Wholesale and custom runs start at 300 pieces under a USD 3,000 minimum, with sea freight at 60 to 90 days to port.
Table of Contents
- Why Induction Cannot Heat A Salt Block
- What A Salt Block Actually Adds To Food
- Best Heat Sources For A Salt Block
- Prerequisites Before You Heat A Block
- Heat The Block In Three Steps
- Thermal Risk And Structural Damage
- Chilled Serving And Cleaning Rules
- Order Math For Salt Block Buyers
- Frequently Asked Questions
- Final Thoughts On Safe Heating
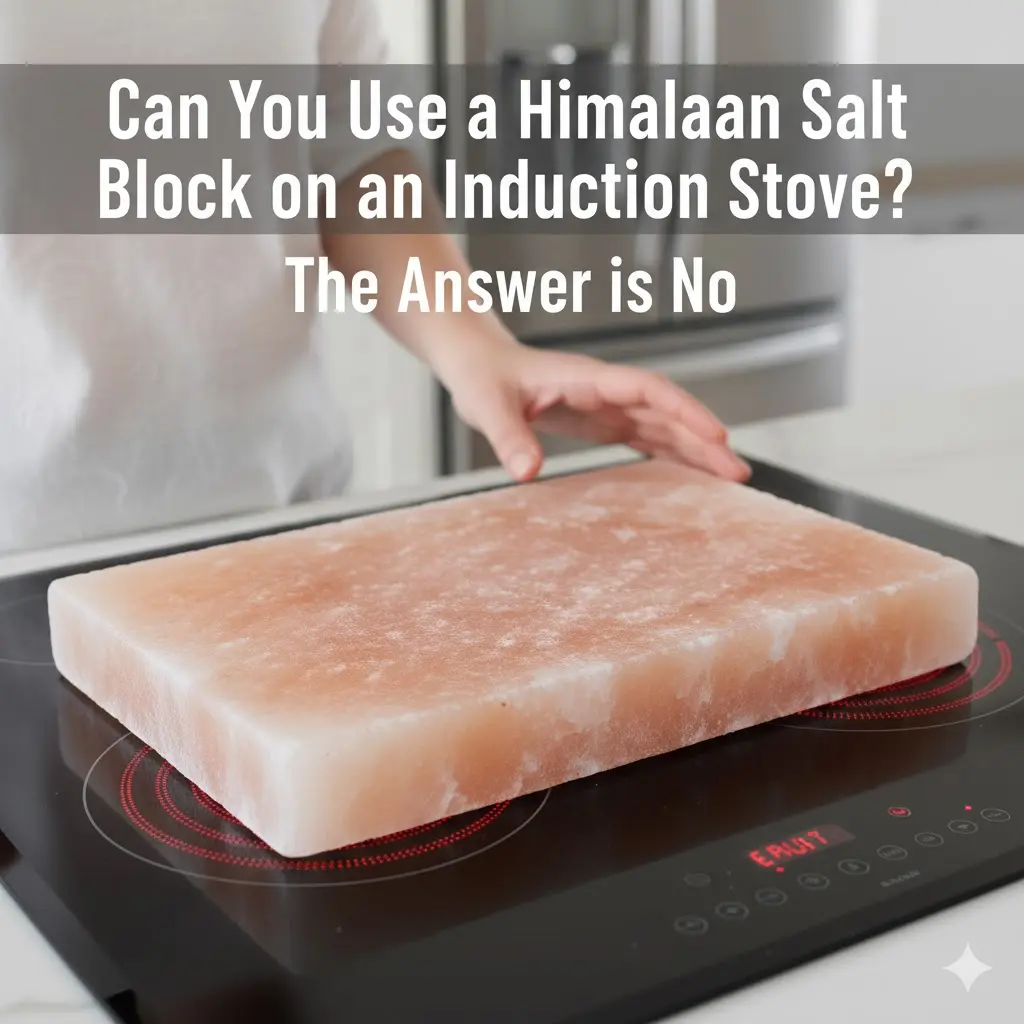
A Himalayan salt block is a natural slab of compressed mineral salt, cut from mined halite and polished into a cooking and serving surface. Its crystalline structure seasons food as it sears it, and the pink face of the block makes a table presentation that no flat pan can copy. The question buyers ask us most often: can you use a salt block on an induction stove? The answer is no, because induction depends on magnetism and salt has none of it. This guide explains the mechanism, then sets out the heat sources that do work and the warm-up routine that keeps a block intact.
Why Induction Cannot Heat A Salt Block
An induction cooktop is not a heater with a flat face. Under the glass sits a copper coil driven by alternating current, and that coil projects an electromagnetic field into whatever rests on the surface. When the field meets a ferromagnetic base, it stirs circulating currents inside the metal, and the electrical resistance of that metal converts the stirring into heat. The pan becomes the heating element.
Salt cannot take part in that exchange. Himalayan salt is an ionic crystal: it carries no free electrons, so it does not conduct electricity, and it holds no iron, so it is not magnetic. The field passes through the block without inducing anything. Because the cooktop senses no load, its pan-detection routine never completes, and the burner simply refuses to energise. On most models you will see an error code, a blinking power light, or a surface that stays cold under a block you expected to sear a scallop on.
A ferromagnetic adapter plate is the workaround that circulates in every induction FAQ, and it deserves a straight answer. The plate will get hot, and it will pass some of that warmth into the salt below it. What it cannot do is deliver heat evenly, because the salt receives energy through one face while the other two surfaces stay comparatively cool. That one-sided gradient is precisely the stress pattern that splits crystal. Our salt block cooking guide covers the heat sources we support instead, and an adapter is not on that list.
What A Salt Block Actually Adds To Food
A heated block seasons the surface it touches. Minute amounts of mineral salt transfer into the outer layer of a steak, a prawn or a slice of vegetable, and the transfer is shallow enough that you can taste it without the whole dish turning briny. That behaviour is the commercial appeal of the product: the seasoning is part of the cook, and the plate is part of the table.
Because the seasoning is real, the sodium figure belongs on the product page. A block contributes to the salt a diner eats, and WHO healthy-diet guidance limits adult salt intake to less than 5 grams per day, roughly 2 grams of sodium. Retail listings that present salt cookware as a health device tend to forget that number. The mineral itself is traceable: we sell blocks cut from mined halite, and the pink salt origins page documents where the seams sit and why colour varies between them.
Best Heat Sources For A Salt Block
Four families of heat work with a salt block, and they differ mainly in how evenly they arrive. The matrix below is the shortlist we give buyers who stock the product, with the routine each source needs and the risk it carries. Read the verdict column first: it is the reason we direct restaurant customers toward the oven for the first several sessions with a new block.
| Heat Source | How To Start It | Typical Warm-Up | Verdict |
|---|---|---|---|
| Conventional oven | Block goes into a cold oven, then heat steps up | 15 to 20 minutes | Most even heat and the lowest cracking risk |
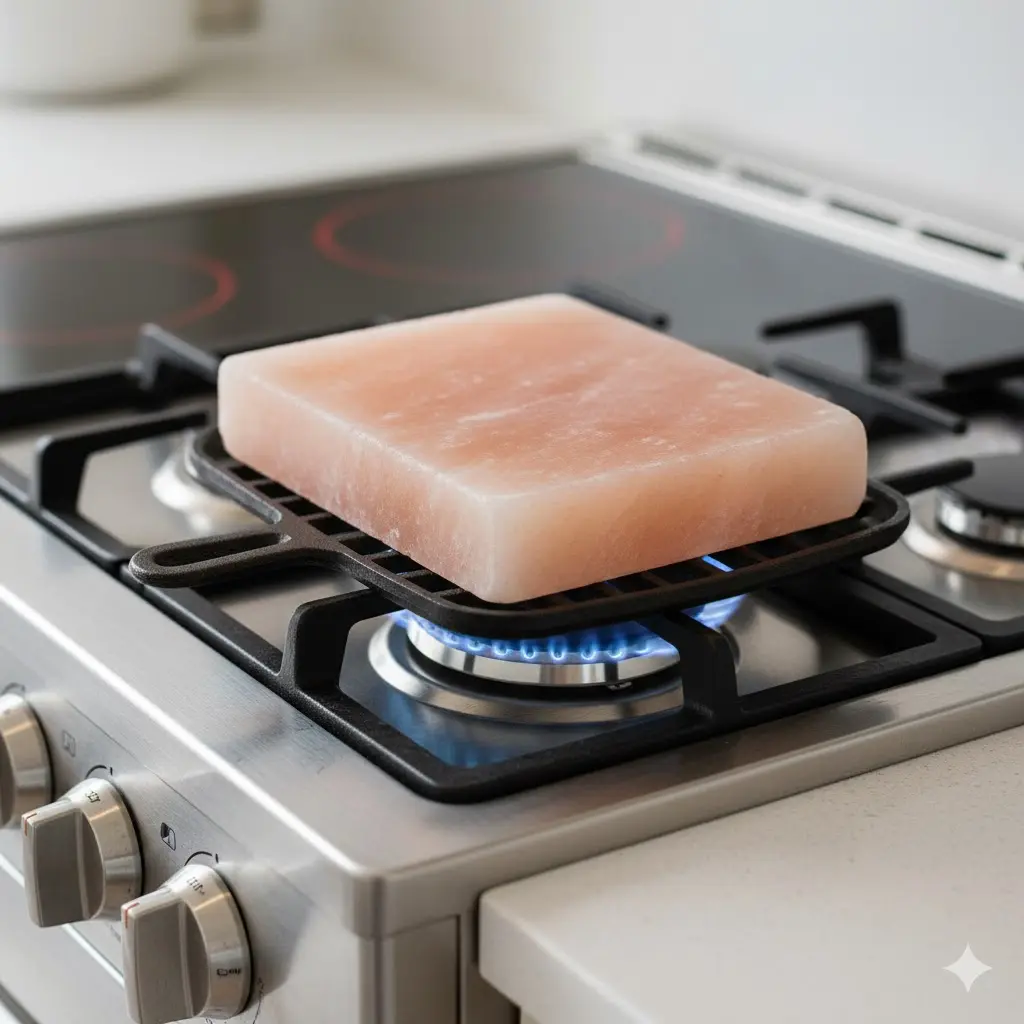
| Gas stove | Lowest flame, raised in small stages | 10 to 15 minutes | Precise control, but keep the flame off the block edge |
| Electric coil stove | Coil on low with a metal diffuser between the two | 10 to 15 minutes | Workable with a diffuser, never directly on a bare coil |
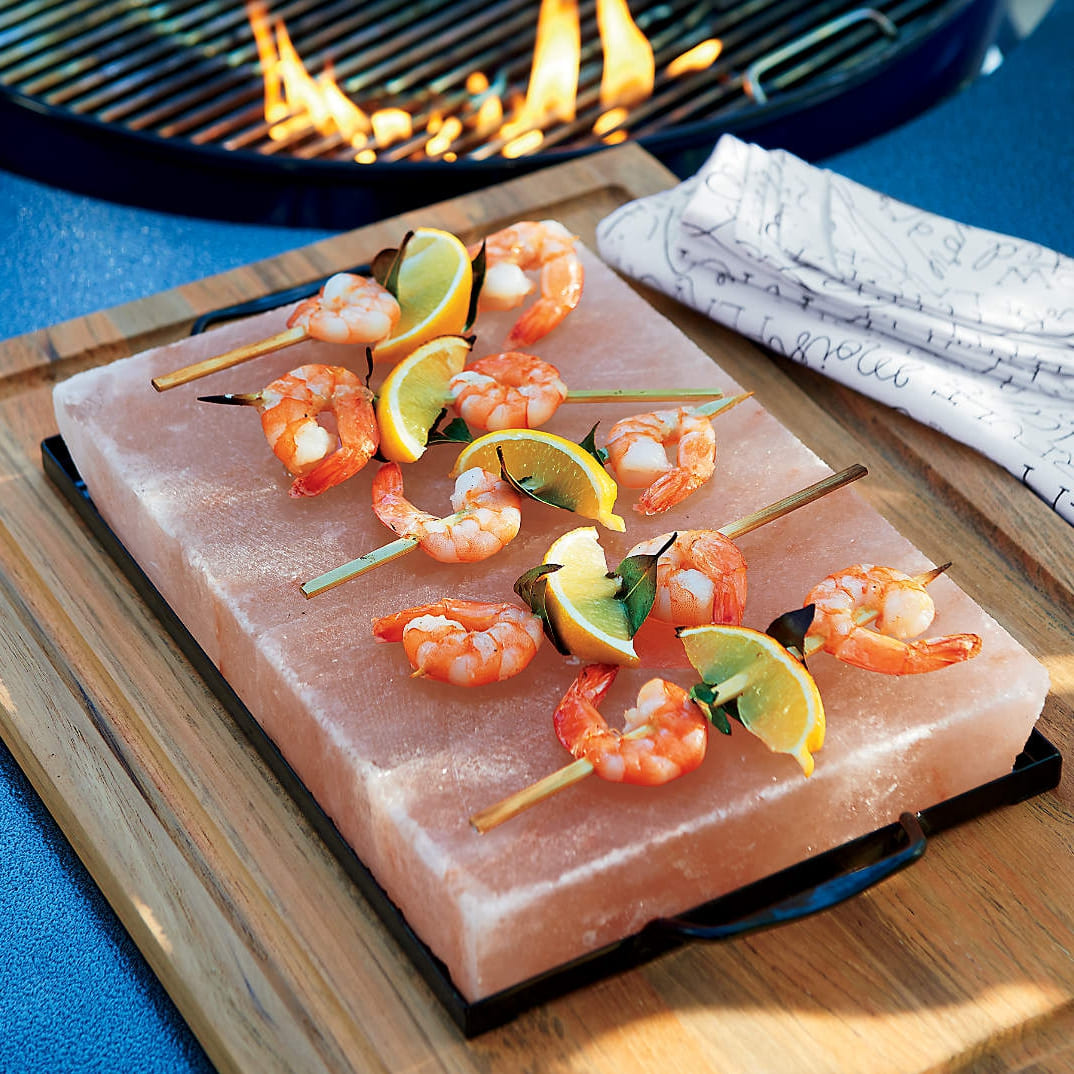
| Gas or charcoal grill | Block sits on the cool side, away from direct flame | 20 to 25 minutes | Strongest sear and the highest shock risk for new users |
| Induction cooktop | No setting transfers heat into salt | Not applicable | Incompatible: the burner cannot detect the block |
Glass-ceramic radiant hobs deserve a warning of their own. The element cycles on and off beneath the surface, so heat reaches the salt in pulses rather than a steady flow, and the uneven cycle produces the same stress pattern as an adapter plate. If a kitchen has nothing but a radiant hob, the oven is the correct tool. Wholesale buyers stocking blocks for retail shelves should print that guidance on the carton, because it is the return reason we see most: a customer heated the block wrong, not a customer who received a bad slab. The wholesale salt block line covers the sizes we pack for that shelf.
Prerequisites Before You Heat A Block
Prepare the kit before the block leaves the shelf. Most damage in this category happens in the first three minutes of a session, when someone reaches for a glove that is in another drawer or raises the heat because the block seems slow. Everything below should be within arm reach before the first burner lights.
- A salt block of the right footprint for the job, and a thickness that can hold heat through a full serving sequence.
- A compatible heat source: gas burner, electric coil with a diffuser, conventional oven, or a grill with an indirect zone.
- Heat-resistant gloves or sturdy tongs, since a charged block holds temperature far longer than a pan does.
- A flat, heatproof surface or wooden tray to receive the block, so salt never meets a lacquered tabletop.
- A dry cloth. Moisture on the surface flashes to steam on contact with heat and starts a crack at the weakest point in the crystal.
Setting these out in advance also protects the cooktop. A block dragged across glass leaves a salt scratch that never polishes out, and a block set down on a hot element without a diffuser concentrates stress on one spot. If you are evaluating a slab that has already been through a bad session, the difference between a surface fissure and a through-split is explained on our page covering cracked versus solid salt blocks.
Heat The Block In Three Steps
Step 1: Select A Compatible Heat Source
Choose the source first, because the routine differs. Gas gives the fastest, most visible control: the flame responds the instant you turn the dial, and you can watch the underside of the block warm. An oven is slower and gentler, which is the trade most first-time users should take. A grill delivers the highest surface temperature of the four and the least forgiveness. Induction is excluded outright for the reason set out above, and no dial setting changes that.
Step 2: Warm The Salt Block Gradually
Warm slowly across 10 to 15 minutes. Begin at the lowest setting and raise it in small stages, letting the block catch up between them. In an oven, the block starts in cold air and climbs with the cavity instead of being dropped into a preheated one. On an electric coil, a metal tray or diffuser spreads the element energy so the salt sees a broad, even face rather than a hot ring. That gradual ramp is the single habit that most extends the working life of a slab, and it is the instruction we print on our own packaging inserts.
Step 3: Cook Or Serve With Care
Once the block is evenly warm, place meat, seafood or vegetables directly on the surface and let the crystal do the seasoning. Handling changes here: a fully charged block can stay hot enough to burn long after the flame is off, so gloves or tongs stay on until the slab reaches room temperature. Allow it to cool completely before any cleaning step. Our guide to the best salt blocks for cooking and serving walks through the thickness choices behind that heat retention.
Thermal Risk And Structural Damage
Salt is dense and brittle at the same time, which makes it unusually sensitive to how fast it warms. When one face of a block expands ahead of the face opposite it, the crystal develops internal stress along the seam between those layers. That stress does not announce itself. It resolves later, as a hairline that appears after the kitchen is closed, or as a clean split the first time the block goes back on heat.
Three habits cause most of the losses we see: a cold block placed into a hot oven, a flame turned up in one move instead of several small steps, and a wet surface heated before it dried. Warm in increments and dry the block before it meets any heat source. A block treated that way survives hundreds of sessions; one treated otherwise fails within a handful.
Chilled Serving And Cleaning Rules
The same slab runs in the opposite direction. Chilled, a salt block becomes a serving stone for sushi, cured fish, fruit, cheese or desserts, and the cold face keeps a plated item at serving temperature. Chill the block in the refrigerator rather than a freezer, and give it time to come up to temperature gradually, because a frozen core meeting warm air is a thermal shock.
Cleaning is where salt blocks are most often ruined. Never submerge one, and never run it through a dishwasher: the crystal dissolves in water and will release stored moisture into the seam the next time it heats. Wipe the cooled surface with a barely damp cloth, scrape residue off with a dry scraper or coarse salt, then air dry fully before storage. For engraved presentation pieces, including the custom engraved salt blocks we cut for hospitality clients, keep the cloth away from the carved face so the lettering does not soften.
Order Math For Salt Block Buyers
Freight decides this category more than the mineral does. Salt is heavy for its volume, so a buyer who prices only the slab will be surprised by the landed cost. Our own tiers are straightforward: a trial order opens at 100 pieces with a USD 500 minimum order amount and moves on air DDP inside 20 to 30 days, while wholesale and custom programmes start at 300 pieces under a USD 3,000 minimum and travel by sea in 60 to 90 days to port. A Q4 gift shelf should be booked against the sea figure, not the air one.
Thickness and footprint are the second decision, and they interact with the heat guidance above: a thin slab reaches searing temperature quickly and loses it just as fast, while a thick block carries a whole service but demands a longer ramp. We pack both directions, along with bases, scrapers and printed care cards, on our custom Himalayan salt products line, and every carton ships with the gradual-warming instruction printed on the insert so the retail customer cannot skip it.
Source Salt Blocks That Ship With Care Instructions
Open a 100-piece trial on air DDP, or build a 300-piece wholesale programme with printed warming guidance, bases and scrapers already packed.
Frequently Asked Questions
Can you use a Himalayan salt block on an induction stove?
No. Induction burners heat ferromagnetic cookware through an electromagnetic field, and salt is neither magnetic nor electrically conductive. The cooktop cannot detect the block, so no heat is produced and the surface stays cold.
Does an induction adapter plate make a salt block work?
A ferromagnetic adapter plate does get hot on an induction burner and can pass warmth into the salt below it, but the heat arrives through one face only. That gradient stresses the crystal and raises the cracking risk.
What is the safest way to heat a salt block indoors?
Use a conventional oven. Place the block in a cold oven, then raise the heat in small steps over 10 to 15 minutes so the salt expands evenly. Dry the block first, since trapped moisture turns to steam and splits the crystal.
Why does a salt block crack while it is heating?
Salt is dense and brittle, so layers expand at different rates when one face heats faster than the opposite face. Those internal stresses resolve as fissures. Warming slowly with a diffuser keeps the gradient shallow.
How much salt does a cooking block add to food?
Enough to season the surface you sear, not to salt a whole dish, so most cooks finish without extra seasoning. WHO guidance keeps adult intake under 5 grams of salt per day, roughly 2 grams of sodium.
Final Thoughts On Safe Heating
Induction and salt are fundamentally incompatible, and no accessory closes that gap: without magnetism there is nothing for the electromagnetic field to act on, so the burner never fires. Gas, electric coil with a diffuser, the conventional oven and the grill all heat a block properly, and each of them rewards the same discipline of a slow, staged ramp.
Treat the warm-up as the product feature rather than a preamble, and a salt block will season, sear and present for years. If you are specifying a line for a kitchen, a retail shelf or a hospitality programme, our team at Jilin Ever Creation can quote sizes, bases, engraved faces and printed care cards together. Send your requirement through the contact page and we will price it against the 100-piece trial tier or the 300-piece wholesale tier.